Showing posts with label sewsixties. Show all posts

Tuesday, December 28, 2010

McCall's 6978 from 1963: Aka The Great Wiggle Dress Disaster of 2010

It looks so pretty on the envelope....
(ABOVE)


Raglan sleeves or as I like to call them, "the beginning of the end"
(ABOVE)

So blissfully ignorant
(ABOVE)

Okay, trying to catch up here. Hopefully, posting two today will alleviate some of the guilt I feel for having such a huge backlog!

This particular dress was made right before Thanksgiving. I remember this, because I wanted to wear it to my friends' house for Thanksgiving, but the results did not allow it. I'm trying not to be so hard on myself, because this was my first wiggle dress. After recently hopping onto the "Mad Men" bandwagon (I'm in the middle of Season 3), I was really excited to make it. Disappointment is worse when you're really excited about a particular project.

Presenting the highlight reel for McCall's 6978 from 1963:


1.) FABRIC: I used a synthetic suede fabric from Joann's (really getting sick of their selection, or lack thereof). I was nervous to sew it, because I fell absolutely in love with it when I saw it and was in awe of its beauty. The texture and color reminded me of a really swank vintage couch. It seemed like it would make for a wiggle dress with an edge. But... there's an important lesson here. No matter, how much you love the fabric, use some sense already, ASTRID! Why, oh why, did I use a fabric that had NO STRETCH for a wiggle dress. I can hardly walk in the thing! When I was trying it on after it was finished, I dropped something, and I had to ask my husband to pick it up for me. Now, I know that wiggle dresses can be a little awkward, but if there was some stretch, I could have managed. This is bloody ridiculous. The fabric is so stiff, it hurts to bend my elbows.

You can hardly see the "V" shape on the front. Maybe I shouldn't have used black.
(ABOVE)

This isn't the first time my fabric choice was really stupid. But, I've finally developed a theory as to why I make these mistakes: Joann's selection of colors, prints, and textures is so limited that I end up picking a wrong material, because I can't find the right material in the right color, print, or texture. I go against my best judgment, because something "shiny" catches my eye, and I can't find it in a material that will work. I've tried to explore other fabric stores locally, but most just sell upholstery fabric. One in my neighborhood has really cool prints, but only in a 100% cotton material that reminds me of quilting fabric (which I don't care to use). Several projects from this one, I started buying fabric online and have been happy with the results. More on that later, though.

The fabric looked like a swank couch in the store. On the dress, more like a garbage bag.
(ABOVE)

2.) FRONT SEAMS/RAGLAN SLEEVES: I am pretty sure I'll never sew raglan sleeves again. I probably said this already and then did it again, but this time I mean it. I've set aside all my patterns with raglan sleeves and will be reselling them. With the suede cloth, the raglan sleeves kept bunching at the armpit. Plus, they were too baggy for me, and when I tried to adjust them, the bunching only got worse. I know...I know...I should be doing a FBA, but I've found that isn't necessary for me with most 34B patterns. When I have shoulder seam problems with set in sleeves, I just cut the shoulder shorter, so the sleeves don't fall off my shoulders. That works perfectly. This pattern, though, probably needed a FBA. Why won't I learn FBA? I don't see it as having enough utility for the kind of styles I'm making, since I've already figured out a way to fix almost 100% of shoulder problems I run into. Raglan sleeves have been one of the few exceptions. I'm not that wild about how they look on me, so I don’t consider avoiding them a big loss.

It doesn't LOOK bad... if only I could move...
(ABOVE)


3.) HAIR STYLING: Unfortunately, my normal everyday look doesn't really match the Mad Men/pin-up style. I have long straight hair, and I have no idea how to curl it in a way that would make it look late 50's/early 60's. Most women in that era didn't have hair nearly as long as mine, so I question whether styling my hair in that manner is even possible. Plus, my hair is really fine and hates the curling iron. That doesn’t help.

4.) ACCESSORIES: For some reason, this dress just does not look like the right era. I think it's my hair, but I'm not sure. Perhaps if someone with the right hairstyle wore the dress, it would look Mad Men-esque. I tried to add accessories such as the beret, red belt, and red shoes. Those did help. However, I couldn't shake the feeling that this dress was looking kind of 80's instead of 50's or 60's. Anyone have any ideas? Is it my long straight hair being incongruous with that era that is causing the problem? Is the Mad Men style wrong for my "look"?

Take the picture already. My elbows hurt!
(ABOVE)

5.) GATHERING: I omitted the instructions to "gather" at the waist. I think I know how to do that now, but it didn't really affect the outcome to omit it.

So, what's the lesson here? You probably shouldn't make a dress you can't move in. Yeah, don't do that.

Happy sewing!
Astrid

Monday, November 1, 2010

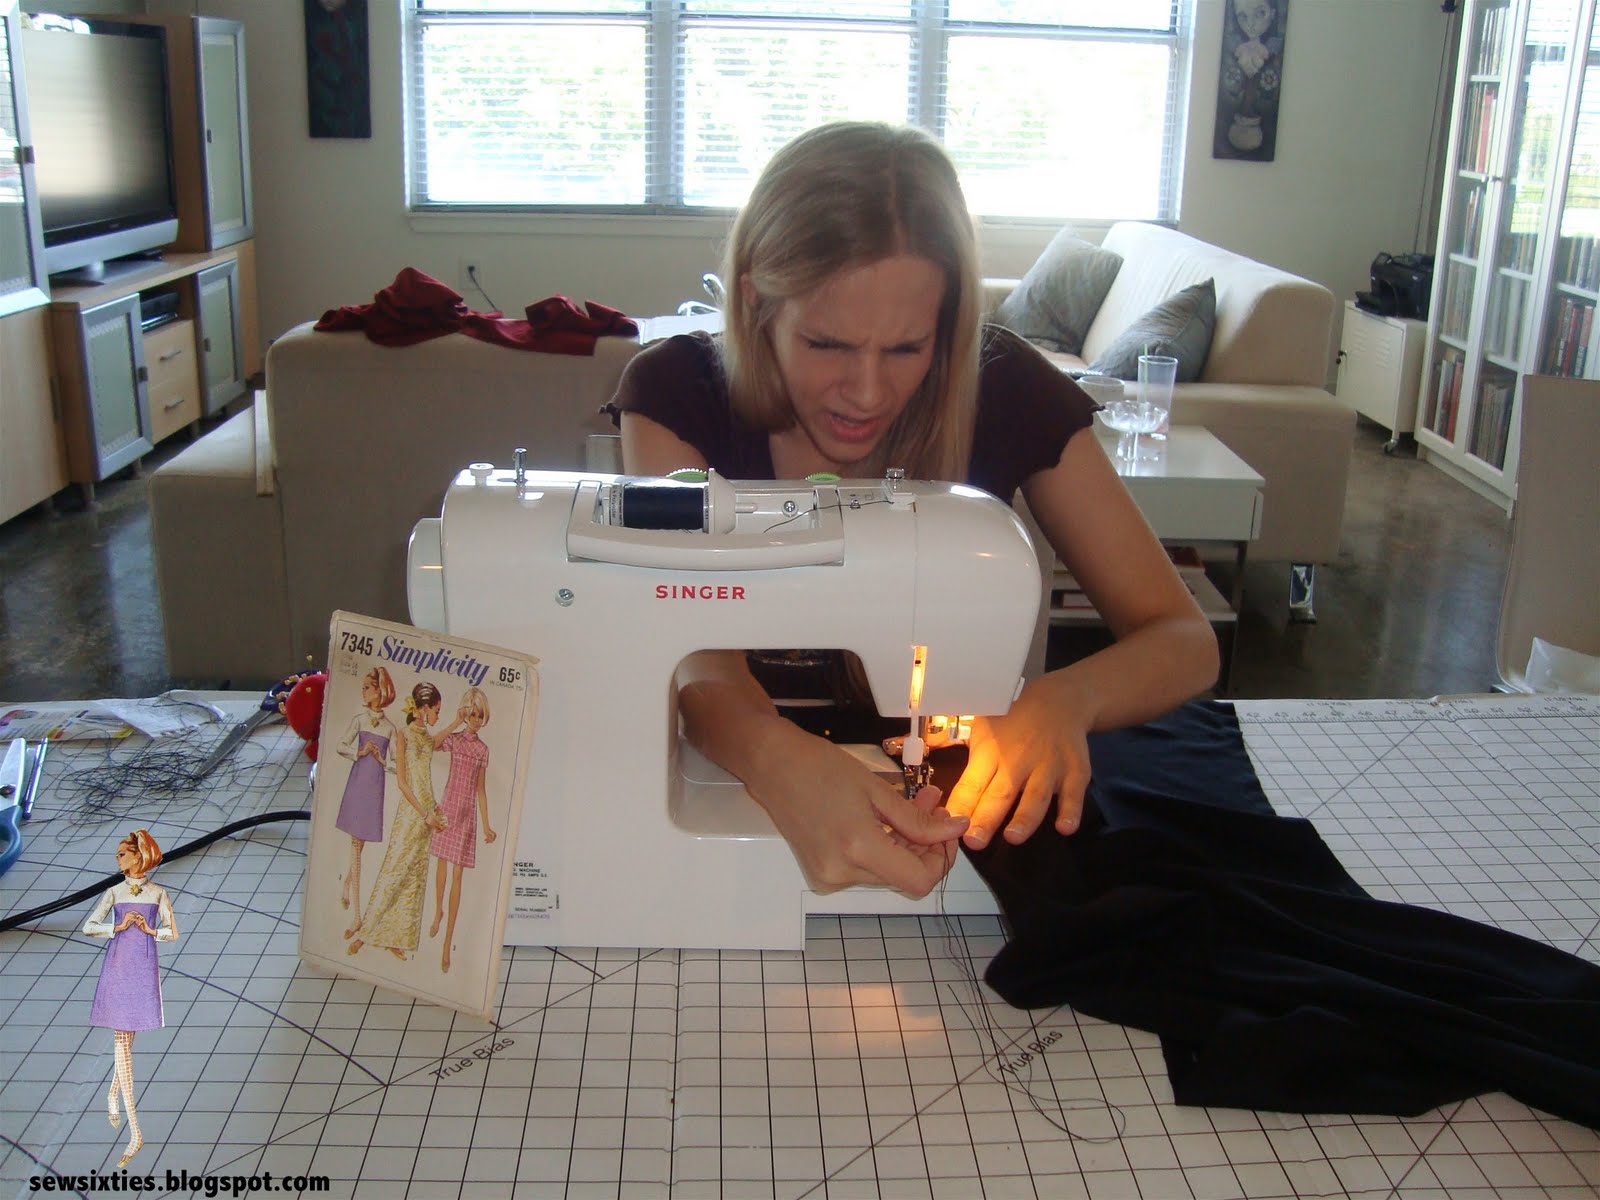
Simplicity 7345 from 1967- Mod Red and Black Colorblock Dress

Simplicity 7345 from 1967- View 2
(ABOVE)


WTF?
(ABOVE)


I love knits because I love pinking-- such a nice, lazy way to finish seams
(ABOVE)

Well, I've been sewing but I haven't been posting much. It's been a pretty busy month, but I've managed to get in some sewing now and then. I've made three dresses this month that I haven't posted so I'll have more to come very soon.

But first, let's begin with Simplicity 7345 from 1967. And here's the rundown:

1.) PATTERN SIZING: This is the second pattern that I have done with the 34 bust. So many of my fitting issues were solved by going down a size. As Michael Scott would say, "That's what she said." But seriously, this one went pretty well.

2.) SHOULDER SEAMS/ARMPIT AREA: The biggest issue that I face with the 34 bust is armpits/shoulder seams. If I leave the shoulder seams as is, the seam still falls off my shoulders. It's not as pronounced as the 36 bust, but it still isn't what I want. I have fairly wide shoulders and if I don't adjust the shoulder seams, I end up changing my shape from hourglass to inverted triangle.

Mid-way through & footwear challenged
(ABOVE)

How do I fix the shoulder seams? Well, I must say, I'm definitely in the lazy sewer category, so I know all the meticulous seamstresses out there will cringe at this one. Do I adjust the fit by redrawing the pattern during the cutting phase as a careful sewer should do?

Uh...well...actually no. I lay out my garment, grab my ruler, and use my chalk to draw a line from the armpit up to the shoulder seam. Then, I grab my trusty scissors and cut, hoping that I don't get scissor-happy and ruin everything. But I do use my ruler and I do measure the shoulder seams on RTW dresses that fit well in the shoulders, so that I know how much to cut-off. So far, this has worked well (no Lorena Bobbitt moments here), but I have to be careful not to cut off too much in the lower part of the armscycle. Wow, I used a big sewing word...but I don't think I spelled it right. At least it's better than calling it what I used to call it-- i.e. "that armhole thingy."

By the way, it might be more disastrous if I tried redraw my pattern. I got a D once on an Industrial Tech project that involved drafting. I'm pretty sure I cried.

I'm not crying here-- I think that means success
(ABOVE)

Back/Side View
(ABOVE)

The other big problem: the armpits. The bottom of the armscycle is too low with the 34 bust. I read in one of my sewing books that the bottom of the armscycle is supposed to fall approximately 1/2 inch under the armpit when the pattern has set-in sleeves. I ended up adjusting that issue by bringing in the seam line at that area by a couple inches. There was plenty of give, so it was easy to just pull it in. (Must resist "that's what she said" jokes) This seemed to cause the armscycle to migrate northward, which fixed the problem. On some previous patterns, I always had excess fabric (sort of like a bat-wing style sleeve) at the armpit area. I prefer a more tailored fit in the armpit area, so I'm glad I'm learning to fix this problem. A few dresses later, I found myself getting better at adjusting this area.

3.) THREAD: So, I bought this new black thread, because I was running out the previous brand I had bought. It said it was "all-purpose sewing thread." Is it possible that this is a fallacy? For some reason, this thread and my fabric did not mix. The thread kept bunching up in my machine, which in turn seemed to get my fabric caught in the feed dogs. When I first bought the new thread, I noticed that it was thicker than my previous thread, but I thought maybe it was just a better quality. Now I'm thinking it was somehow too thick for the fabric, which I'll get to next.

The shitty thread in action
(ABOVE)

4.) FABRIC: This time around I used ponte roma polyester. I was getting sick of the ponte roma, but it turns out there are different types, because this PR poly felt very soft and didn't have the same roughness of the previous PR I used. So, the question is whether that thread and the soft PR were somehow incompatible?


5.) HEM: This hem turned out better than any previous hem. I turned the bias tape inside again (as was so helpfully recommended--thank you, thank you!). This time, the fabric had more weight, so the method worked better. I am so excited by this hem that I want to redo all my previous hems, and I'm actually excited to do it. I'm having a major dork-out moment ; - )

So, overall, success! I'm not necessarily "wowed" by this one either, but I do like it, and I am proud to say that with each dress, I'm working out the various fitting issues.

Happy sewing!
Astrid

It looks like a mod take on the Star Trek the Next Generation uniform
(ABOVE)

Monday, October 25, 2010

Some things that make me go "hmmm"....

One of my favorite RTW dresses- see discussion in post
(Above)

One of my favorite RTW dresses- see discussion in post
(Above)

I have a few more dresses to post soon, but I wanted to share some thoughts. I've been contemplating a lot of random things lately, regarding sewing.

1.) MACHINES: I have a Singer Esteem II 2273. I bought it at Target for $130.00. At the time of purchase, I was brand new to sewing and wasn't sure whether I'd be able to learn, so I didn't want to invest a lot of money into a machine. The machine's okay, but I'm wondering if there are other machines that perform better. So, in your experiences, do you find that the quality of the machine makes a difference? I'm thinking of getting a new machine, but if one machine is basically as good as the next, I don't want to buy a new one.

If you think a better machine would make a difference in my sewing projects, let me know what machine you'd recommend and why it's better. Any help would be immensely appreciated! I don't really trust online consumer review sites-- so many times I've bought something based on reviews and the item was NOT good. I swear there are companies "padding" their products with good reviews.

2.) FABRIC OR FIT?: Because I'm a pretty picky person when it comes to my clothes, I like to be "wowed" by them. Perhaps my expectations are too high, but I always go for that "wow" factor when I'm shopping as well. Example: My friend and I will go shopping and we'll go to 10 stores. She's purchase something at least 2/3 of the stores. It would be a shock if I came out with one thing.

I haven't had much of a "wow" factor when it comes to my sewing projects. This frustrates me, because unlike RTW fashion, I had to go through a lot of work to make the item. As such, the urge to "wow" myself is even greater because of the work involved. I keep wondering: is my failure to "wow" myself due to not fitting my dresses as good as I could? Or, is it due to not using the right fabrics? I still have not found a fabric that I'm really in love with. I tried to compare my fabrics on my "wow" factor RTW dresses in my closet. Here's what I come up with:

1.) 100% polyester
2.) 67% polyester, 30% rayon, 3% spandex
3.) 100% cotton
4.) 92% polyester, 8% spandex
5.) 94% rayon, 6% spandex

So, there's obviously a trend toward polyester and/or rayon with a touch of spandex. But 100% cotton?? It's weird because the cotton dress has a lot of stretch to it, but there is no spandex in it.

And here's where I get more confused...I have used different 100% polyester fabrics and they weren't the same. I guess they have a different fiber content depending on the manufacturer?

Sigh...I must say that when it comes to sewing, fabric is an area where I'm really frustrated and lost.

Or am I wrong? Is it not the fabric but merely the fit being off? I'm running in circles, really.

Okay, so at the top of this post, I have pasted a picture of one of my absolute favorite RTW dresses. It fits me like a glove and it's this blend: 67% polyester, 30% rayon, 3% spandex. That dress is a black and blue sleeveless. The other dress is another favorite (fit wise).

3.) PATTERNS: Okay, I love the 60's mod stuff (as you know), but I'm wondering if I should also experiment with the early 60's more "mad men", Bettie Page style. Since I'm really struggling with getting the right fit as a beginning sewer, I'm wondering if I'd have an easier time with these styles (i.e. since the style is already closer to the body, which is what I tend to go for).

Okay and if I do go for these styles, I definitely need fabric recommendations. I've also posted pictures of some of the patterns I've bought in that style. Any help would be mucho appreciated.

Happy sewing!
Astrid

Saturday, October 2, 2010

Simplicity 8381- 1969- Long Sleeve Colorblock Dress

Simplicity 8381 from 1969
(ABOVE)

Pinning those tricky, curved front seams
(ABOVE)

Can you tell that my husband loves these "action" shots?
(ABOVE)

Notice the shift from "day" to "night"?
(ABOVE)

It's Fall here in Atlanta and while the temperatures are still pretty toasty, they will *eventually* cool off. So, I decided to make a long sleeve colorblock dress (Simplicity 8381 from 1969). I have a low tolerance for temperatures under 70 degrees, so it won't be long before I'll be ready to wear long sleeves. I get a lot of stares when I'm wearing knee high boots over pants in the middle of summer. But, I'm cold-blooded, what can I say?

My husband (Truman) always helps me pick out fabrics and colors. He doesn't necessarily know what looks good. He does, however, know when things look bad. This time around I had a pretty big snafu, though, due to his advice regarding colors for this dress. His color snafu was irrelevant. I had picked the fabric from hell. With that, let's begin the rundown:

1.) FABRIC: The fabric from hell? 100% polyester "Jet Set" jersey. The fabric felt soft and flouncy in the store. It was kind of light-weight, but it seemed like it could work. The reality? The fabric was cheaper than the fabric of the "sexy nun" Halloween costume I just bought. And that's pretty mother-loving cheap! And not to mention so thin that I'll be cold! What was I thinking? Apparently, not much.

What attracted me to this textile terror? The 100% polyester ponte roma I've been using isn't my choicest fabric either. I like it okay, but it tends to pull a lot, which makes the dress look like it's wrinkling in weird spots, even when the fit is good. Also, the feeling against the skin isn't the greatest. It doesn't breathe much. I really NEED to find a good cotton/poly blend. I would have went with the ribbed cotton/poly knit again, but I didn't think a rib would work with the design of the dress.

What else didn't I like about the fabric? If I thought the ponte pulled, this one REALLY pulled. At the center of the dress (see picture), there is pulling galore. It looks awful. It makes the dress look very tight in the middle, when in reality it is quite loose. What can I say? The middle looks more like a Shar Pei than a finely tailored garment.

This garment needs some Botox--where's Joan Rivers when you need her?
(ABOVE)

2.) THE SHITTY JUST GET SHITTIER: So, you've started the project. You've just realized that you HATE the fabric that you picked. It's flimsy. It looks cheap. You feel like you're making a Halloween costume for your dog (or in my case, pet rats). What do you then realize? The shitty just gets shittier. Your attitude is already bad. You feel like you won't like the final result. From then on out, the project is littered with stupid snafus that you don't usually make. You sew the sleeve on inside out. Your top stitching is slightly crooked. On the plus side, Mr. Seam Ripper is no longer lonely.

The sleeve was sewn inside out-- much cussing ensued
(ABOVE)

Me & Mr. Seam Ripper: a match made in hell
(ABOVE)

So, you ask, why should you even continue?

I didn't stop, though, because I was anxious to see how a 34 bust pattern would fit (this was one of the 34 bust patterns I was so excited to try after feeling the 36 busts were too big). Which leads me to the next point...

The garment before sleeves and hemming
(ABOVE)

3.) SIZING: Good news! The 34 bust worked SO MUCH better. I pretty much followed the side seam lines, and it wasn't too small, even in the bust. So, I guess the comments about vintage patterns having a ton of ease were correct. My shoulder seams no longer look macho, because the size is so much better.

Before hemming the garment
(ABOVE)

Nowhere was the 34 too small. I made hardly any adjustments. After completing the dress, I remeasured my bust. I had remembered it being a 36. Apparently it's 35. So, that's probably one of the reasons the 34 fit so much better. But, I had to ask myself, did my boobs shrink? Which leads me to my next point...

4.) COLORS: I had mentioned that my husband made a snafu regarding color choice. We debated how the colors should be after deciding on black and white. I had thought you were supposed to put the lighter color on the main bodice of the dress and the darker color at the sides and sleeves. I asked: Don't you put the darker color at the waist to make your waist recede and create a more hourglass shape? He was convinced it was the other way around.


So...hmmm...do you notice that the colors seem to have an effect on the bust line that....how do you say...makes it look a lot bigger? I'm not going to say that he purposely made the snafu, but you do have to wonder...

Is it just me or are some of my body parts a lot bigger than others?
(ABOVE)

5.) THE WORKHORSE: My time for completion of a garment is improving. I'm becoming like the horse in "Animal Farm." Let's just hope I don't get sent to the glue factory. Notice in the pictures, that the early ones are daytime pics and the later ones are at night. I went from 12 noon to 10 pm. My dinner consisted of coffee and Cocoa Pebbles. That's dedication, right? Although, I still do everything I can to finish things faster, even if it means sneaky little shortcuts. I am a lazy sewer.

Necklace is a Sarah Coventry pin that I used a converter to make into a pendant
(ABOVE)

6.) HEM: This time I turned the hem up and sewed the bias tape onto the inside to finish it off, instead of letting it show on the outside (this one didn't need a contrasting bias tape hem). Thanks to Heather for the suggestion on the hem. The technique worked well, although the fabric was so flimsy, it ended up having a "hoop skirt" look at the bottom. Ultimately, I thought it look better with the "hoop skirt" style so that was a plus! It gave a little more body to such a flimsy fabric.

So, that's about it! This is the type of dress that only the creator could love (okay, maybe not "love"). Oh well, I will definitely have to remake this one in the future using a good fabric, because I really love the design.


Happy Sewing Adventures!
Astrid

Friday, September 24, 2010

1967 pattern- Simplicity 7470- Mod Green & White Tab Dress

I did version 2 but with long sleeves
(ABOVE)

Notice that my husband gave the pattern cartoon a blond wig to make her look more like me-- don't you love how technology enriches our lives?
(ABOVE)


That's a Reader's Digest sewing book from the 1970's. I was trying to "perfect" my dart process.
(ABOVE)

Oh boy, I love to iron...NOT!
(ABOVE)


I made this green and white mod dress from the 1967 pattern shown- Simplicity 7470. Here's the play-by-play of the making of this dress:

Trying it on over my clothes-- before hemming/side seams
(ABOVE)

1.) FABRIC: Okay, so I said I'd never use cotton again. I totally lied. The posters who said that not all cottons are the same. They were 100% right. I used a ribbed 95% cotton, 5% spandex blend. It behaved nicely, and the drape was flattering. I'm happy to report that I avoided over-tailoring once again. Trust me, this is an accomplishment.

I'm really OCD about trying on my dresses at various stages.
(ABOVE)

I don't know why I was so dense about cotton before. I should have realized that not all cottons are the same. My own closet has 100% cotton RTW dresses that have a beautiful softness and drape. One in particular is even body-con despite not having any spandex mixed in. I liked the ribbing on this cotton too-- it gave the final result more texture, which I sorely needed in the gray dress.
I still haven't found my "perfect" fabric though. Are you out there fabric? It's me, Astrid.

WOMAN SEEKING FABRIC: Wanted: the perfect fabric. Must be soft yet firm. Must be thick but not too thick. Must be stretchy but not too flimsy. Must not unravel on me...


2.) COLLAR: Okay, so the collar is kinda high. It actually photographs higher than it looks in real-life. I consider it a "stylistic" choice, rather than a fitting mistake. Even though it's supposed to be a "bias roll", it looks more like a "funnel neck" collar. I suppose I could have sized it down. Maybe size does matter, but what also matters is how lazy I am.

I also learned something new about "bias roll collars" this time around. When I made one before, I was confusing it with the stand-up collars and thought it was crazy high on my neck. Duh, I now realize you have to fold them over. I guess my head/neck size isn't super freakish after all. Just moderately freakish.

3.) DETAIL: After the lack of detail on the gray dress, I decided to add some detail to this one. The contrasting white bias tape on the hem and the sleeves was not on the original pattern. I rather like the result.

4.) MILESTONE: I didn't use Mr. Seam Ripper even once for this dress! He's wondering why I've stopped calling.

Okay, okay, I did have to use him to fix about 2 inches of hem that I messed up on, but it was 2 inches, come on!

This dress was the first-time I've finished a dress in one sitting. Sure, I had to go from noon to 8 pm, but it was worth it. I remember when I first started, I'd start at noon and be trying to finish the zipper at 10 pm.

Happy sewing adventures!
Astrid