Tuesday, December 28, 2010

McCall's 6978 from 1963: Aka The Great Wiggle Dress Disaster of 2010

It looks so pretty on the envelope....
(ABOVE)


Raglan sleeves or as I like to call them, "the beginning of the end"
(ABOVE)

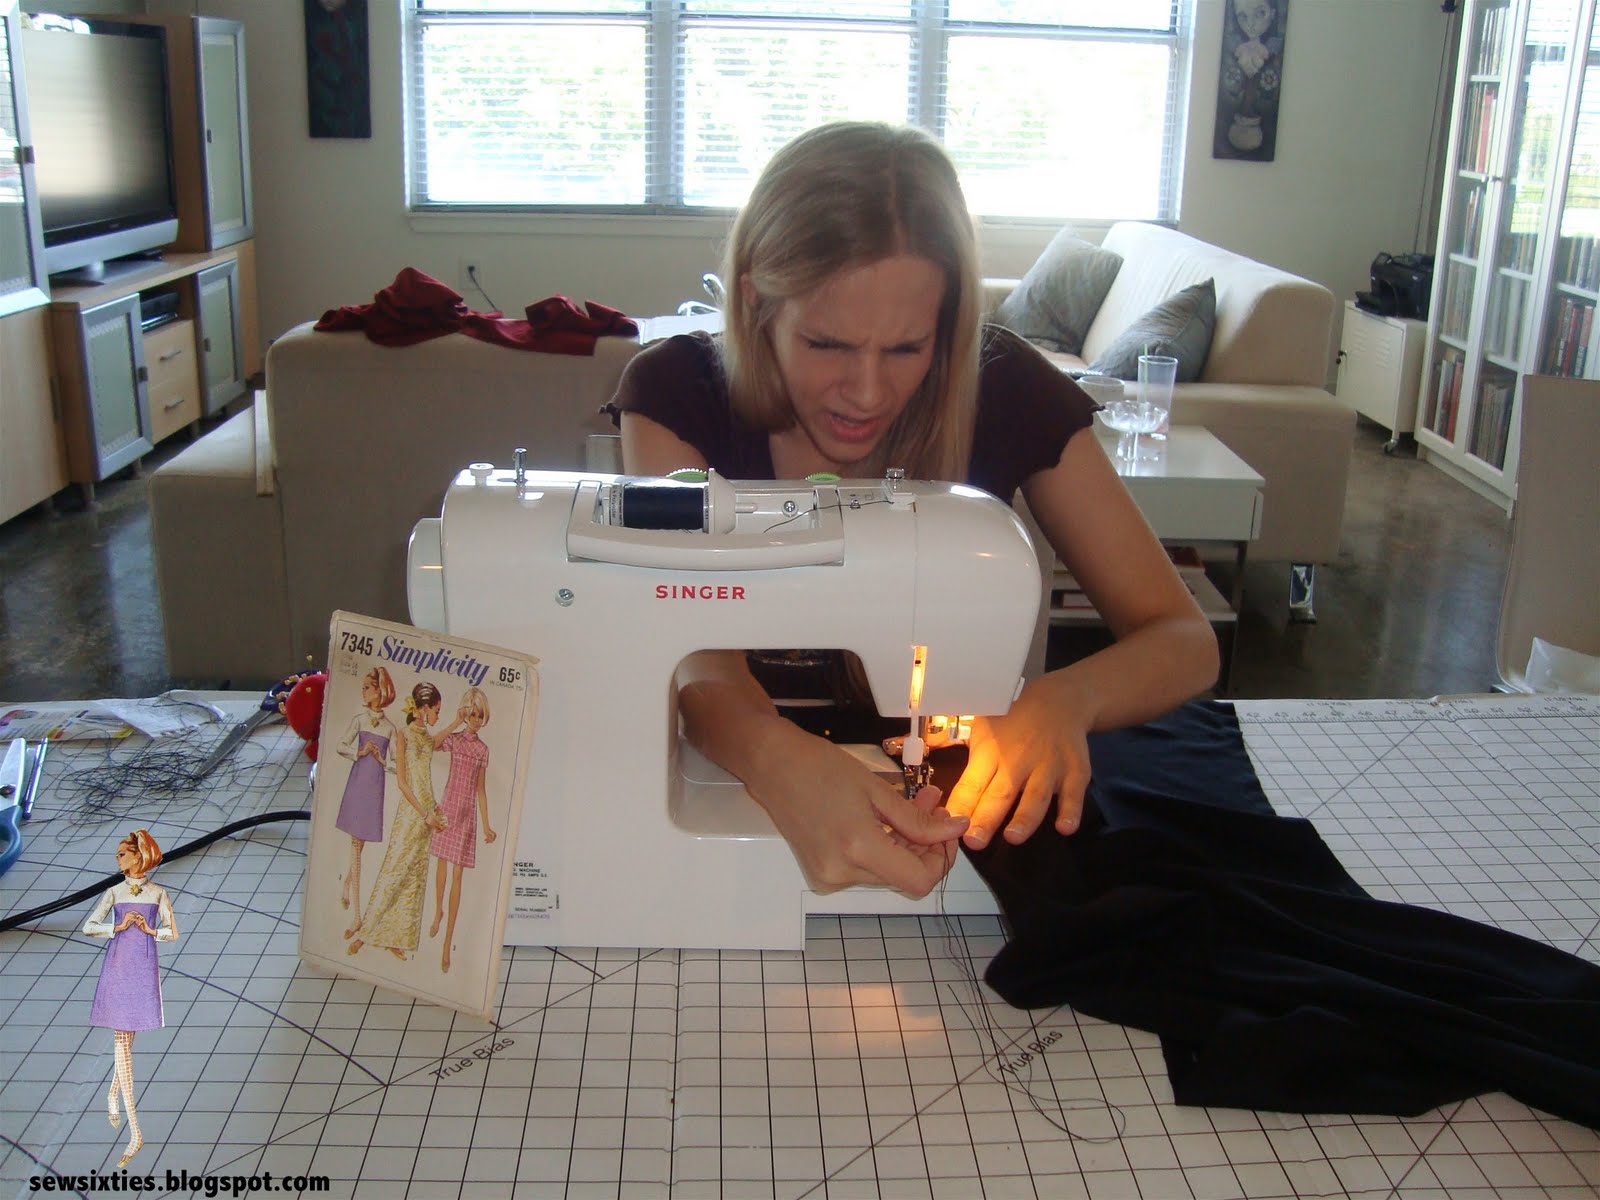
So blissfully ignorant
(ABOVE)

Okay, trying to catch up here. Hopefully, posting two today will alleviate some of the guilt I feel for having such a huge backlog!

This particular dress was made right before Thanksgiving. I remember this, because I wanted to wear it to my friends' house for Thanksgiving, but the results did not allow it. I'm trying not to be so hard on myself, because this was my first wiggle dress. After recently hopping onto the "Mad Men" bandwagon (I'm in the middle of Season 3), I was really excited to make it. Disappointment is worse when you're really excited about a particular project.

Presenting the highlight reel for McCall's 6978 from 1963:


1.) FABRIC: I used a synthetic suede fabric from Joann's (really getting sick of their selection, or lack thereof). I was nervous to sew it, because I fell absolutely in love with it when I saw it and was in awe of its beauty. The texture and color reminded me of a really swank vintage couch. It seemed like it would make for a wiggle dress with an edge. But... there's an important lesson here. No matter, how much you love the fabric, use some sense already, ASTRID! Why, oh why, did I use a fabric that had NO STRETCH for a wiggle dress. I can hardly walk in the thing! When I was trying it on after it was finished, I dropped something, and I had to ask my husband to pick it up for me. Now, I know that wiggle dresses can be a little awkward, but if there was some stretch, I could have managed. This is bloody ridiculous. The fabric is so stiff, it hurts to bend my elbows.

You can hardly see the "V" shape on the front. Maybe I shouldn't have used black.
(ABOVE)

This isn't the first time my fabric choice was really stupid. But, I've finally developed a theory as to why I make these mistakes: Joann's selection of colors, prints, and textures is so limited that I end up picking a wrong material, because I can't find the right material in the right color, print, or texture. I go against my best judgment, because something "shiny" catches my eye, and I can't find it in a material that will work. I've tried to explore other fabric stores locally, but most just sell upholstery fabric. One in my neighborhood has really cool prints, but only in a 100% cotton material that reminds me of quilting fabric (which I don't care to use). Several projects from this one, I started buying fabric online and have been happy with the results. More on that later, though.

The fabric looked like a swank couch in the store. On the dress, more like a garbage bag.
(ABOVE)

2.) FRONT SEAMS/RAGLAN SLEEVES: I am pretty sure I'll never sew raglan sleeves again. I probably said this already and then did it again, but this time I mean it. I've set aside all my patterns with raglan sleeves and will be reselling them. With the suede cloth, the raglan sleeves kept bunching at the armpit. Plus, they were too baggy for me, and when I tried to adjust them, the bunching only got worse. I know...I know...I should be doing a FBA, but I've found that isn't necessary for me with most 34B patterns. When I have shoulder seam problems with set in sleeves, I just cut the shoulder shorter, so the sleeves don't fall off my shoulders. That works perfectly. This pattern, though, probably needed a FBA. Why won't I learn FBA? I don't see it as having enough utility for the kind of styles I'm making, since I've already figured out a way to fix almost 100% of shoulder problems I run into. Raglan sleeves have been one of the few exceptions. I'm not that wild about how they look on me, so I don’t consider avoiding them a big loss.

It doesn't LOOK bad... if only I could move...
(ABOVE)


3.) HAIR STYLING: Unfortunately, my normal everyday look doesn't really match the Mad Men/pin-up style. I have long straight hair, and I have no idea how to curl it in a way that would make it look late 50's/early 60's. Most women in that era didn't have hair nearly as long as mine, so I question whether styling my hair in that manner is even possible. Plus, my hair is really fine and hates the curling iron. That doesn’t help.

4.) ACCESSORIES: For some reason, this dress just does not look like the right era. I think it's my hair, but I'm not sure. Perhaps if someone with the right hairstyle wore the dress, it would look Mad Men-esque. I tried to add accessories such as the beret, red belt, and red shoes. Those did help. However, I couldn't shake the feeling that this dress was looking kind of 80's instead of 50's or 60's. Anyone have any ideas? Is it my long straight hair being incongruous with that era that is causing the problem? Is the Mad Men style wrong for my "look"?

Take the picture already. My elbows hurt!
(ABOVE)

5.) GATHERING: I omitted the instructions to "gather" at the waist. I think I know how to do that now, but it didn't really affect the outcome to omit it.

So, what's the lesson here? You probably shouldn't make a dress you can't move in. Yeah, don't do that.

Happy sewing!
Astrid

McCall's 2853 from 1971: Long Colorblock Dress

I like Simplicity's instructions better, but maybe I'm just used to them
(ABOVE)


Looking pissed, I don't remember but I'm sure something shitty had just happened
(ABOVE)


Before I joined the skirt and bodice
(ABOVE)

Okay...um...I'm a little embarrassed to say this, but what the hell, I'll never have to face any of you in person so....I have a backlog of six---yes, SIX-- projects that I need to post about. I do have an excuse though...I swear! I swear! I had to work 30 days straight this month, trying to fill orders for our holiday sales. And did I mention that I HATE working. Yes, I absolutely hate it. Even though I get to do it from home, I still want to claw my eyes out. Well, that's another blog.

So, this particular dress that I'm posting about was made in early or mid- November I believe. And I'm happy to say that the results are good. Now, I know this is technically an early 70's pattern, but with the colorblocking on it, I couldn't resist. I tried to make the dress exactly like the pattern envelope picture. Color scheme and all. I think the results are pretty close.

Presenting McCall's 2853 from 1971 (Version A) highlight reel:

1.) FABRIC: Few problems with this cotton/poly blend from Joann's. It could hang a little nicer. Not sure if that's my fault or the fabric. Okay, I'm sure it was mine.

2.) ZIPPERS OR LACK THEREOF: I have been "okay" with zippers ever since I learned how to install invisible ones. Although, I often don't like the way they feel against my body. Not sure how to explain, but they feel a little too stiff. They feel like they don't really "go" with the soft and stretchy cotton/poly blends I've been using. So, this time around, I bought a zipper but ended up not using it. It seemed like it would be okay, since the fabric was so stretchy. Surely I could get it over my puny little Nordic skull (ha!)...or not. I guess sewing in the facing made the neck hole less stretchy. Luckily, I had a small 4 inch (non-invisible) zipper on hand. So, I pulled out some of the back seam and inserted the zipper. Success! My head finds a new home.

So, should I have kept this as a hat? Honest opinions, please.
(ABOVE)

3.) CONSTRUCTION: This was the first time I put together a dress with a separate skirt and bodice that needed to be sewed together. Not too challenging. Although, I did have to make sure each piece fit separately and then luckily neither one was too big for the other. I really hate it when I'm trying to ease something together and end up with puckers.


Rear View
(ABOVE)

4.) IRONING: Still hate it.

Before hemming-- photographic evidence of my hatred of ironing
(ABOVE)

5.) CLUMSY: Only had my iron for a few weeks. Already broke it. I dropped it once. Then my husband dropped it. The plate has a piece missing at the end. That's how we roll.


So, that's about it! And more to come very soon. I hope to post a few times this week, so that I can catch up on the backlog.

Happy sewing!
Astrid

Wednesday, November 17, 2010

Simplicity 8456 (1969)- Simple Purple Dress


What you plan on making isn't always what you end up with. That was the story of Simplicity 8456 from 1969. Nonetheless, the ending was happy. A truly "feel good" experience.


HIGHLIGHT REEL:

1.) FABRIC: I'm happy to report that the fabric (a soft, cotton blend) was okay this time. I will admit that sometimes my results are "flouncier" and less stiff than the fabric on the envelope pic. But, I don't really mind that. I just resisted the urge to make a "that's what she said" joke. Aren't you proud of me? Oh wait, I guess I just...never mind.

2.) DETAILS PART I: Okay, so I left off the welts on the front of the dress. I suppose that was the detail that really "makes" the dress. However, I remember the fiasco of trying to line up the pockets on another knit dress that I made (the red and white one). I couldn't get those buggers lined up, probably due to the stretchiness of the fabric pulling them out of place (despite me using pins).

So what did I do? I gave up and left them off all together. I RULE! (said in the voice of Kevin Spacey from "American Beauty")


But seriously, I dug the "simplicity" of the dress without them. I just did a pun. My dad would be so proud.

3.) DETAILS PART II: So there is much top stitching on the dress, but you can't really see it in pics or in life. Doesn't it suck when you work really hard to sew something straight and pretty and then you can't even see the detail? Any tips for making top-stitching pop out more?

4.) FIT: No trouble here!
5.) PHOTOGRAPHY: What's up with the photographs making all my dresses look "wrinkly" even when they're not? Perhaps one of the mysteries of the universe or just related to really shitty lighting. Take your pick.


I'm happy to say there wasn't a whole lot to report here. It went really well and raised my confidence level. Okay, so I copped out a tad, but eh, I'm lazy.


Happy Sewing,
Astrid

Tuesday, November 16, 2010

Simplicity 7749 - Mod Dress with Colorblocking & Raglan Sleeves (1968)


Before color band was added
(ABOVE)

I made Simplicity 7749 (1968)-- view 3. This was the first pattern I have made with raglan sleeves. Another first-- adding a rather large band to the bottom. Here are the highlights:


1.) FABRIC: I used a Ponte Roma polyester. It was the same softer stuff I used on the previous dress, so the drape was better and the fabric didn't chaff my skin. This made me happy. But...[there's always a but, right?] I didn't particularly like the "look" the fabric gave the dress. I have an association with raglan sleeves (especially color blocked raglan) with men's sports uniforms. You know, the "baseball shirt." This made me sad.


Nothing against men's sport uniforms, but view 3 on the pattern envelope has a much more elegant look. Not necessarily evening wear but a more formal day dress.

Fabric choice: you remain my enemy.


2.) SLEEVES: This time around, no problems with the shoulder seams falling off my shoulders. Alas, this was nothing I did, but rather the nature of the raglan sleeve. I did find it rather tricky to sew the raglan sleeve seams and the neighboring side seams. Since the armholes are always falling too low, I do have to bring in the side seams quite a bit, and this was a bit awkward with the raglan sleeves. Nonetheless, I brought those puppies in as good as I could, and I'm fairly pleased with the result. No actual puppies were harmed in the making of this dress. Only imaginary ones. I kid. I would never hurt an imaginary puppy.

3.) FABRIC BAND: I do not like fabric bands. That is all.

Just kidding. Let me explain. I like the way they look, but I find them entirely disagreeable to sew and in need of a good spanking. I couldn't get the dang band to fit quite right after bringing in the side seams. This meant that the circumference of the dress did not match the circumference of the band-- the band had a greater circumference.

Could I have fixed this? Yes.
Did I try? Yes.
Did it work? Kind of.
Could I have tried again. Yes.
Why didn't I? Too lazy.
Why am I still complaining then? Because I can.


4.) FIT: I'm happy to report fitting this one was fairly easy. Tailoring is becoming less trying. Hurray!

Back view & in motion
(ABOVE)

5.) DETAILS: I added the contrasting cuff detail. I thought it nicely tied things together.


Coming soon... Simplicity 8456.

Happy sewing!
Astrid

Monday, November 1, 2010

Simplicity 7345 from 1967- Mod Red and Black Colorblock Dress

Simplicity 7345 from 1967- View 2
(ABOVE)


WTF?
(ABOVE)


I love knits because I love pinking-- such a nice, lazy way to finish seams
(ABOVE)

Well, I've been sewing but I haven't been posting much. It's been a pretty busy month, but I've managed to get in some sewing now and then. I've made three dresses this month that I haven't posted so I'll have more to come very soon.

But first, let's begin with Simplicity 7345 from 1967. And here's the rundown:

1.) PATTERN SIZING: This is the second pattern that I have done with the 34 bust. So many of my fitting issues were solved by going down a size. As Michael Scott would say, "That's what she said." But seriously, this one went pretty well.

2.) SHOULDER SEAMS/ARMPIT AREA: The biggest issue that I face with the 34 bust is armpits/shoulder seams. If I leave the shoulder seams as is, the seam still falls off my shoulders. It's not as pronounced as the 36 bust, but it still isn't what I want. I have fairly wide shoulders and if I don't adjust the shoulder seams, I end up changing my shape from hourglass to inverted triangle.

Mid-way through & footwear challenged
(ABOVE)

How do I fix the shoulder seams? Well, I must say, I'm definitely in the lazy sewer category, so I know all the meticulous seamstresses out there will cringe at this one. Do I adjust the fit by redrawing the pattern during the cutting phase as a careful sewer should do?

Uh...well...actually no. I lay out my garment, grab my ruler, and use my chalk to draw a line from the armpit up to the shoulder seam. Then, I grab my trusty scissors and cut, hoping that I don't get scissor-happy and ruin everything. But I do use my ruler and I do measure the shoulder seams on RTW dresses that fit well in the shoulders, so that I know how much to cut-off. So far, this has worked well (no Lorena Bobbitt moments here), but I have to be careful not to cut off too much in the lower part of the armscycle. Wow, I used a big sewing word...but I don't think I spelled it right. At least it's better than calling it what I used to call it-- i.e. "that armhole thingy."

By the way, it might be more disastrous if I tried redraw my pattern. I got a D once on an Industrial Tech project that involved drafting. I'm pretty sure I cried.

I'm not crying here-- I think that means success
(ABOVE)

Back/Side View
(ABOVE)

The other big problem: the armpits. The bottom of the armscycle is too low with the 34 bust. I read in one of my sewing books that the bottom of the armscycle is supposed to fall approximately 1/2 inch under the armpit when the pattern has set-in sleeves. I ended up adjusting that issue by bringing in the seam line at that area by a couple inches. There was plenty of give, so it was easy to just pull it in. (Must resist "that's what she said" jokes) This seemed to cause the armscycle to migrate northward, which fixed the problem. On some previous patterns, I always had excess fabric (sort of like a bat-wing style sleeve) at the armpit area. I prefer a more tailored fit in the armpit area, so I'm glad I'm learning to fix this problem. A few dresses later, I found myself getting better at adjusting this area.

3.) THREAD: So, I bought this new black thread, because I was running out the previous brand I had bought. It said it was "all-purpose sewing thread." Is it possible that this is a fallacy? For some reason, this thread and my fabric did not mix. The thread kept bunching up in my machine, which in turn seemed to get my fabric caught in the feed dogs. When I first bought the new thread, I noticed that it was thicker than my previous thread, but I thought maybe it was just a better quality. Now I'm thinking it was somehow too thick for the fabric, which I'll get to next.

The shitty thread in action
(ABOVE)

4.) FABRIC: This time around I used ponte roma polyester. I was getting sick of the ponte roma, but it turns out there are different types, because this PR poly felt very soft and didn't have the same roughness of the previous PR I used. So, the question is whether that thread and the soft PR were somehow incompatible?


5.) HEM: This hem turned out better than any previous hem. I turned the bias tape inside again (as was so helpfully recommended--thank you, thank you!). This time, the fabric had more weight, so the method worked better. I am so excited by this hem that I want to redo all my previous hems, and I'm actually excited to do it. I'm having a major dork-out moment ; - )

So, overall, success! I'm not necessarily "wowed" by this one either, but I do like it, and I am proud to say that with each dress, I'm working out the various fitting issues.

Happy sewing!
Astrid

It looks like a mod take on the Star Trek the Next Generation uniform
(ABOVE)