Showing posts with label simplicity. Show all posts

Wednesday, November 17, 2010

Simplicity 8456 (1969)- Simple Purple Dress


What you plan on making isn't always what you end up with. That was the story of Simplicity 8456 from 1969. Nonetheless, the ending was happy. A truly "feel good" experience.


HIGHLIGHT REEL:

1.) FABRIC: I'm happy to report that the fabric (a soft, cotton blend) was okay this time. I will admit that sometimes my results are "flouncier" and less stiff than the fabric on the envelope pic. But, I don't really mind that. I just resisted the urge to make a "that's what she said" joke. Aren't you proud of me? Oh wait, I guess I just...never mind.

2.) DETAILS PART I: Okay, so I left off the welts on the front of the dress. I suppose that was the detail that really "makes" the dress. However, I remember the fiasco of trying to line up the pockets on another knit dress that I made (the red and white one). I couldn't get those buggers lined up, probably due to the stretchiness of the fabric pulling them out of place (despite me using pins).

So what did I do? I gave up and left them off all together. I RULE! (said in the voice of Kevin Spacey from "American Beauty")


But seriously, I dug the "simplicity" of the dress without them. I just did a pun. My dad would be so proud.

3.) DETAILS PART II: So there is much top stitching on the dress, but you can't really see it in pics or in life. Doesn't it suck when you work really hard to sew something straight and pretty and then you can't even see the detail? Any tips for making top-stitching pop out more?

4.) FIT: No trouble here!
5.) PHOTOGRAPHY: What's up with the photographs making all my dresses look "wrinkly" even when they're not? Perhaps one of the mysteries of the universe or just related to really shitty lighting. Take your pick.


I'm happy to say there wasn't a whole lot to report here. It went really well and raised my confidence level. Okay, so I copped out a tad, but eh, I'm lazy.


Happy Sewing,
Astrid

Monday, November 1, 2010

Simplicity 7345 from 1967- Mod Red and Black Colorblock Dress

Simplicity 7345 from 1967- View 2
(ABOVE)


WTF?
(ABOVE)


I love knits because I love pinking-- such a nice, lazy way to finish seams
(ABOVE)

Well, I've been sewing but I haven't been posting much. It's been a pretty busy month, but I've managed to get in some sewing now and then. I've made three dresses this month that I haven't posted so I'll have more to come very soon.

But first, let's begin with Simplicity 7345 from 1967. And here's the rundown:

1.) PATTERN SIZING: This is the second pattern that I have done with the 34 bust. So many of my fitting issues were solved by going down a size. As Michael Scott would say, "That's what she said." But seriously, this one went pretty well.

2.) SHOULDER SEAMS/ARMPIT AREA: The biggest issue that I face with the 34 bust is armpits/shoulder seams. If I leave the shoulder seams as is, the seam still falls off my shoulders. It's not as pronounced as the 36 bust, but it still isn't what I want. I have fairly wide shoulders and if I don't adjust the shoulder seams, I end up changing my shape from hourglass to inverted triangle.

Mid-way through & footwear challenged
(ABOVE)

How do I fix the shoulder seams? Well, I must say, I'm definitely in the lazy sewer category, so I know all the meticulous seamstresses out there will cringe at this one. Do I adjust the fit by redrawing the pattern during the cutting phase as a careful sewer should do?

Uh...well...actually no. I lay out my garment, grab my ruler, and use my chalk to draw a line from the armpit up to the shoulder seam. Then, I grab my trusty scissors and cut, hoping that I don't get scissor-happy and ruin everything. But I do use my ruler and I do measure the shoulder seams on RTW dresses that fit well in the shoulders, so that I know how much to cut-off. So far, this has worked well (no Lorena Bobbitt moments here), but I have to be careful not to cut off too much in the lower part of the armscycle. Wow, I used a big sewing word...but I don't think I spelled it right. At least it's better than calling it what I used to call it-- i.e. "that armhole thingy."

By the way, it might be more disastrous if I tried redraw my pattern. I got a D once on an Industrial Tech project that involved drafting. I'm pretty sure I cried.

I'm not crying here-- I think that means success
(ABOVE)

Back/Side View
(ABOVE)

The other big problem: the armpits. The bottom of the armscycle is too low with the 34 bust. I read in one of my sewing books that the bottom of the armscycle is supposed to fall approximately 1/2 inch under the armpit when the pattern has set-in sleeves. I ended up adjusting that issue by bringing in the seam line at that area by a couple inches. There was plenty of give, so it was easy to just pull it in. (Must resist "that's what she said" jokes) This seemed to cause the armscycle to migrate northward, which fixed the problem. On some previous patterns, I always had excess fabric (sort of like a bat-wing style sleeve) at the armpit area. I prefer a more tailored fit in the armpit area, so I'm glad I'm learning to fix this problem. A few dresses later, I found myself getting better at adjusting this area.

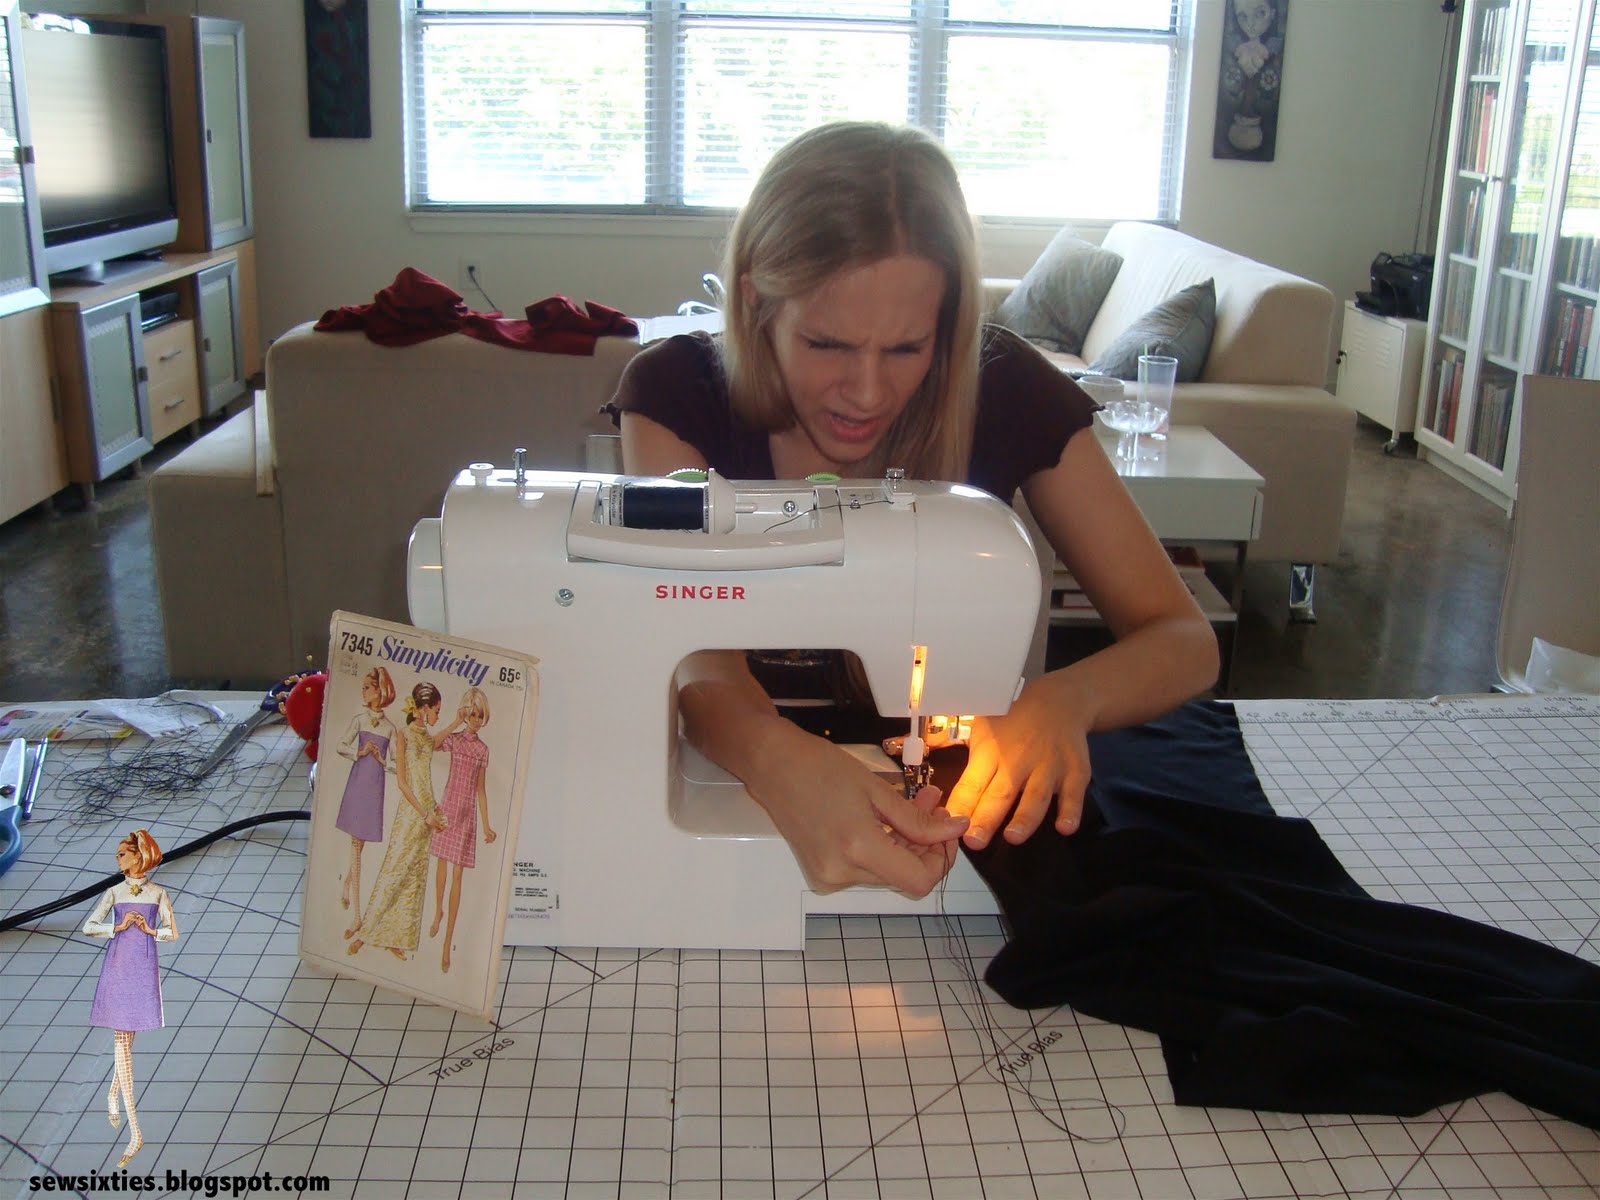
3.) THREAD: So, I bought this new black thread, because I was running out the previous brand I had bought. It said it was "all-purpose sewing thread." Is it possible that this is a fallacy? For some reason, this thread and my fabric did not mix. The thread kept bunching up in my machine, which in turn seemed to get my fabric caught in the feed dogs. When I first bought the new thread, I noticed that it was thicker than my previous thread, but I thought maybe it was just a better quality. Now I'm thinking it was somehow too thick for the fabric, which I'll get to next.

The shitty thread in action
(ABOVE)

4.) FABRIC: This time around I used ponte roma polyester. I was getting sick of the ponte roma, but it turns out there are different types, because this PR poly felt very soft and didn't have the same roughness of the previous PR I used. So, the question is whether that thread and the soft PR were somehow incompatible?


5.) HEM: This hem turned out better than any previous hem. I turned the bias tape inside again (as was so helpfully recommended--thank you, thank you!). This time, the fabric had more weight, so the method worked better. I am so excited by this hem that I want to redo all my previous hems, and I'm actually excited to do it. I'm having a major dork-out moment ; - )

So, overall, success! I'm not necessarily "wowed" by this one either, but I do like it, and I am proud to say that with each dress, I'm working out the various fitting issues.

Happy sewing!
Astrid

It looks like a mod take on the Star Trek the Next Generation uniform
(ABOVE)

Tuesday, August 17, 2010

My 5th Dress- 60's Boho with Bell Sleeves COMPLETED

Tailoring the beast
(above)
Don't I look wind-blown? Or is that exasperation?
(above)

My seam ripper and I are besties
(above)

The previous post shows the Simplicity pattern I used for my fifth dress. I picked view 1. I was hoping for a cute boho mini dress. I even picked out this geometric pattern at Joann's that I thought was really cool. I don't "hate" the dress per se. But, I'm not gonna lie. I don't "like" this dress. But hey, at least it wasn't my fault, as you'll see below.

What follows is the rundown of what I learned and the problems I encountered. Oh, and you better believe it, there WERE problems ; - )

1.) PRINTS: Be very careful with prints. It may seem fabulous when you pick it out at the store, but if you're petite like me, prints can really swamp your frame. I think that's one of the big problems with this dress. Plus, this print looked way more 60's on the bolt. Once it became a dress, somehow it lost that flavor for me. I guess I should have picked a double-sided pattern, too, since the sleeve insides are shown in this design.

2.) MATERIAL: I doubt I will ever use 100% cotton ever again. It didn't drape well. It was stiff. It was boxy. And since I LOVE LOVE LOVE (did I say LOVE) to tailor my dresses for a close-fit, it drove me nuts that I couldn't get the cotton to nip in well at the waist. I totally lost my waist in this dress. I hope to find it again, someday...

By the way, I literally machine-basted this monster three times, trying to tailor it. It was a total Goldilocks moment (except for the last part where it's "just right"-- fairytales aint real after all).

3.) INVISIBLE ZIPPERS: Yay! I finally figured them out. It wasn't rocket science, but if anyone asks, it was. Shhhhhhh! Don't tell.

4.) SLEEVES: I did my first long sleeves with this dress. Honestly, the only thing that I truly like about this dress is the sleeves. I think that's why I fell for this pattern in the first place-- a total love affair with bell/angel sleeves. Since I don't like this result, though, I'll probably do another bell sleeve dress in the future.
My biggest problem with the sleeves: somehow when I'm doing curves, the fabric often bunches on me and I end up sewing a bunch of overlapping fabric that I then have to rip out with my seam ripper. It seems to happen even when I'm being super careful, and I think it's not happening. Oh and of course, this never happens when I am basting, only when I am stitching tiny little stitches that then take forever to rip out. Damn Murphy's Law.

5.) MYSTERY ISSUE: When I first started laying out my fabric and pattern pieces, it was abundantly clear that I did not have enough fabric. I told the lady at Joann's the correct yardage. Did she short-fabric me by accident? Was she wrong about the width which caused me to pick the wrong yardage (I always have to ask what the width is, because I don't know where to find it on the Joann's bolt)? Was it a shrinkage issue from pre-washing/drying? I guess this will remain one of the many mysteries of the universe. What I ended up doing was "making it work" as Tim Gunn would say.
6.) CONSTRUCTION: I'm going to say it and I hope I don't jinx myself. Construction-wise, this probably turned out the best of any of my dresses. So, even though I'm not pleased with the result, I learned a lot and I guess I'm getting better, right? Fingers crossed. Pressing forward.

Look closely at the photo below, and you'll see the tinge of pain in my face...